A Partial View is a logical, reusable view. I am stating it as a Logical view because it can't be displayed independently like a view. In other words, we can say that a Partial View is always used as a child view inside a parent view.
Partial View has the following advantages:
- If we use a partial view, we do not need to create the same user interface again and again. Thus, it solves the problem of writing duplicate user interface code and increases the reusability.
- Particular portion of a view can be updated with Ajax and a partial view.
How to Render a Partial View in Parent View:
There are three different helper methods, which can be used to render a partial view:
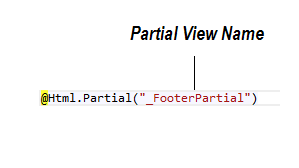
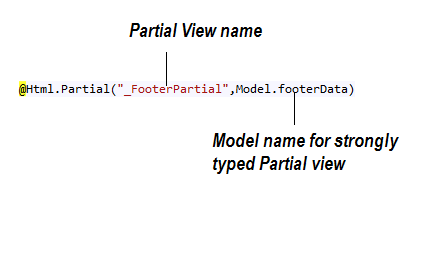
- @Html.Partial
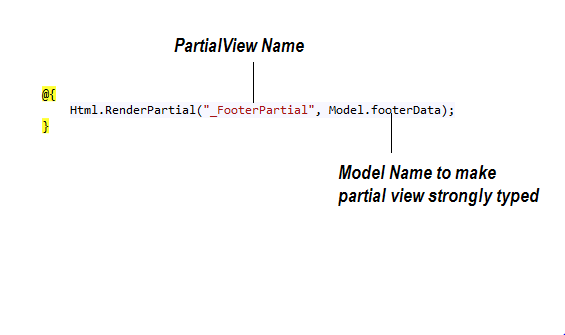
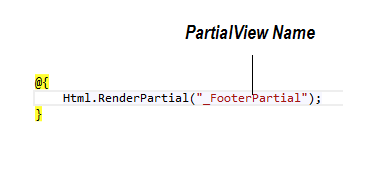
- @Html.RenderPartial
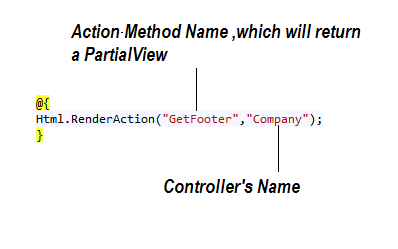
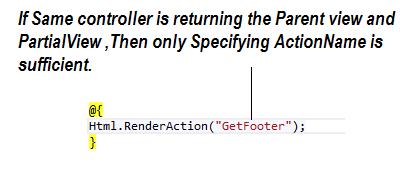
- @Html.RenderAction
Difference Between @Html.Partial and @Html.RenderPartial
@Html.Partial() writes the result of a partial view directly to the HTTP response stream, whereas @Html.RenderPartial() returns the result as MVCHtmlString, so manipulation of HTML elements is possible before rendering with the RenderPartial method.
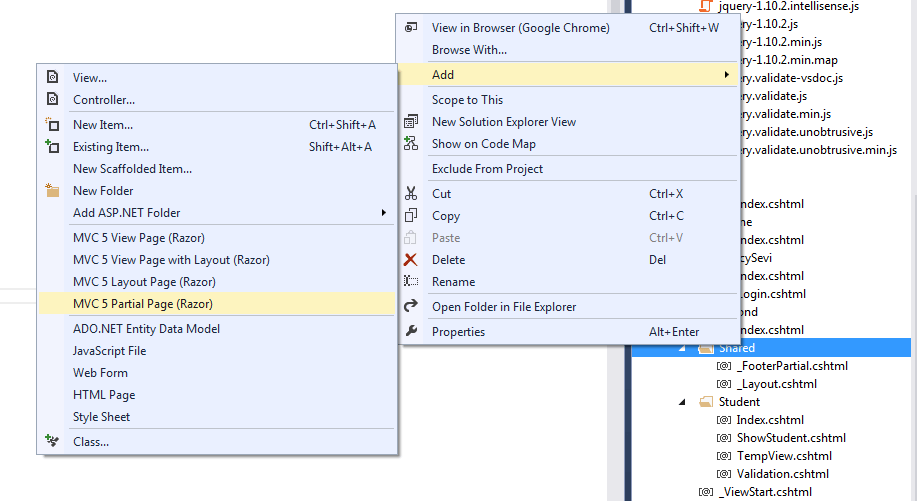
Note: As the Partial Views are meant for reusability, the best place for them is the Shared Folder.
Now, it's time to take some real-world examples where you will need PartialView:
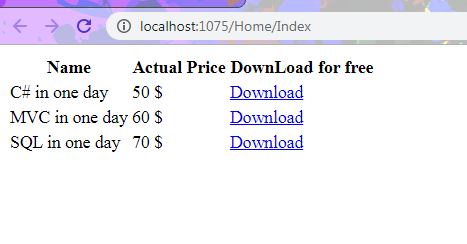
Example 1. You want to show your newly launched EBooks to your application user for free download, but not on every page, rather in two or three pages of your application.
Note: To show something on every page, the Layout page should be used instead of PartialView.
- Step 1. Create a PartialView in shared Folder.
- Step 2. Write HTML for your Partial View.
<table>
<tr>
<th>Name</th>
<th>Actual Price</th>
<th>DownLoad for free</th>
</tr>
<tr>
<td>C# in one day</td>
<td>50 $</td>
<td><a href="#" download>Download</a></td>
</tr>
<tr>
<td>MVC in one day</td>
<td>60 $</td>
<td><a href="#" download>Download</a></td>
</tr>
<tr>
<td>SQL in one day</td>
<td>70 $</td>
<td><a href="#" download>Download</a></td>
</tr>
</table>
<!DOCTYPE html>
<html>
<head>
<meta name="viewport" content="width=device-width" />
<title>Index</title>
</head>
<body>
<div>
@Html.Partial("_EbookPartial")
</div>
</body>
</html>
Now, run the application. You will get the following result:
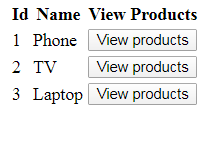
Example 2. There is a list of categories displayed on your page. You want to display related products when anyone clicks on the category link at the bottom of the page.
- Step 1. Create 4 methods in Home Controller or any controller of your choice for loading Categories, loading Products, displaying Categories in View, and returning a PartialView having a related list of products.
public List<category> LoadCategory() { List<category> categories = new List<category> (){ new Category(){Id=1,Name="Phone"}, new Category(){Id=2,Name="TV"}, new Category(){Id=3,Name="Laptop"}, }; return categories; } public List<product> LoadProducts() { List<product> products = new List<product> (){ new Product(){Id=1,Name="iphone",Price=60000,CategoryId=1}, new Product(){Id=2,Name="Oppo",Price=7000,CategoryId=1}, new Product(){Id=3,Name="Samsung",Price=30000,CategoryId=2}, new Product(){Id=4,Name="MI",Price=10000,CategoryId=2}, new Product(){Id=5,Name="Dell",Price=34000,CategoryId=3}, new Product(){Id=5,Name="HP",Price=45000,CategoryId=3}, }; return products; } public ActionResult Index() { List<category> categories = LoadCategory(); return View(categories); } public ActionResult GetProductByCategory(string Id) { int id = Convert.ToInt32(Id); List<product> products = LoadProducts().Where(x => x.CategoryId == id).ToList(); return PartialView("_ProductPartial", products); } - Step 2. Design your view page to show all categories like below:
<table>
<tr>
<th>Id</th>
<th>Name</th>
<th>View Products</th>
</tr>
@foreach (var item in Model)
{
<tr>
<td>@item.Id</td>
<td>@item.Name</td>
<td><button class="btnView" data-id="@item.Id">View products</button></td>
</tr>
}
</table>
Copy and paste the above code and run the application.
@using MVCExample.Models
@model IEnumerable<Product>
<table>
<tr>
<th>Id</th>
<th>Name</th>
<th>Price</th>
</tr>
@foreach (var item in Model)
{
<tr>
<td>@item.Id</td>
<td>@item.Name</td>
<td>item.Price</td>
</tr>
}
</table>
<table>
<tr>
<th>Id</th>
<th>Name</th>
<th>View Products</th>
</tr>
@foreach (var item in Model)
{
<tr>
<td>@item.Id</td>
<td>@item.Name</td>
<td><button class="btnView" data-id="@item.Id">View products</button></td>
</tr>
}
</table>
<div id="productArea">
</div>
<script>
$(".btnView").click(function () {
var CategoryId = $(this).attr("data-id");
$.ajax({
type: "post",
url: "/Home/GetProductByCategory",
dataType: "html",
data: { Id: CategoryId },
cache: false,
success: function (res) {
debugger;
$("#productArea").html(res);
}
});
});
</script>
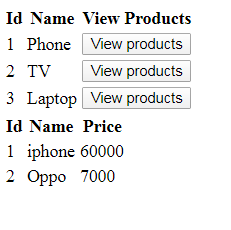
Run the application and click View Products button you will get below result.